
Manufacturing of Prosthesis and Orthosis :
We follow some steps which are required in the manufacturing of Prosthesis and Orthosis are listed below :
Measurement : The residual limb and it's body are measured to determine the size of the desired Prosthesis. A plaster impression is used to evaluate the limb volume precisely. The limb volume will be used for fabrication of patient's test socket. During patient's mobility assessment, we discuss about the patient's mobility gains and his/her desired activity level. The patient's Prosthetic prescription will be based on these factors.
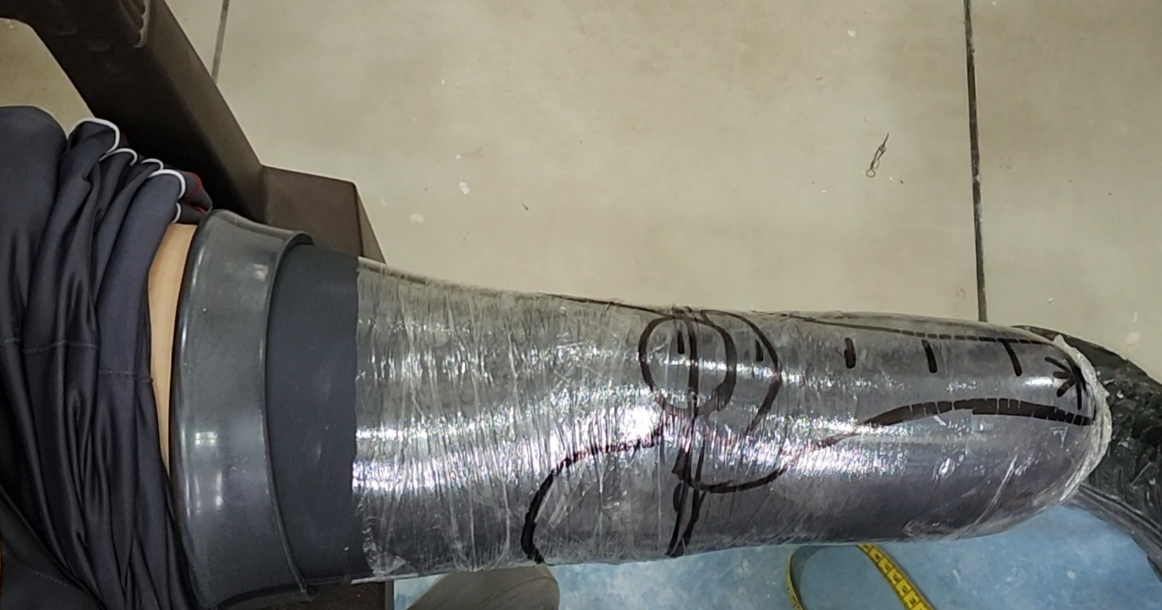
Socket : A silicon liner is fitted and a model of liner is created. The thermo plastic sheet is formed around the model to test the feet. A permanent socket is created.
Plastic Parts : Plastic parts are created using methods like vaccum forming and injection moulding.
Metal Parts : Metal parts are created using di-casting.
Assembly of Entire Limb.
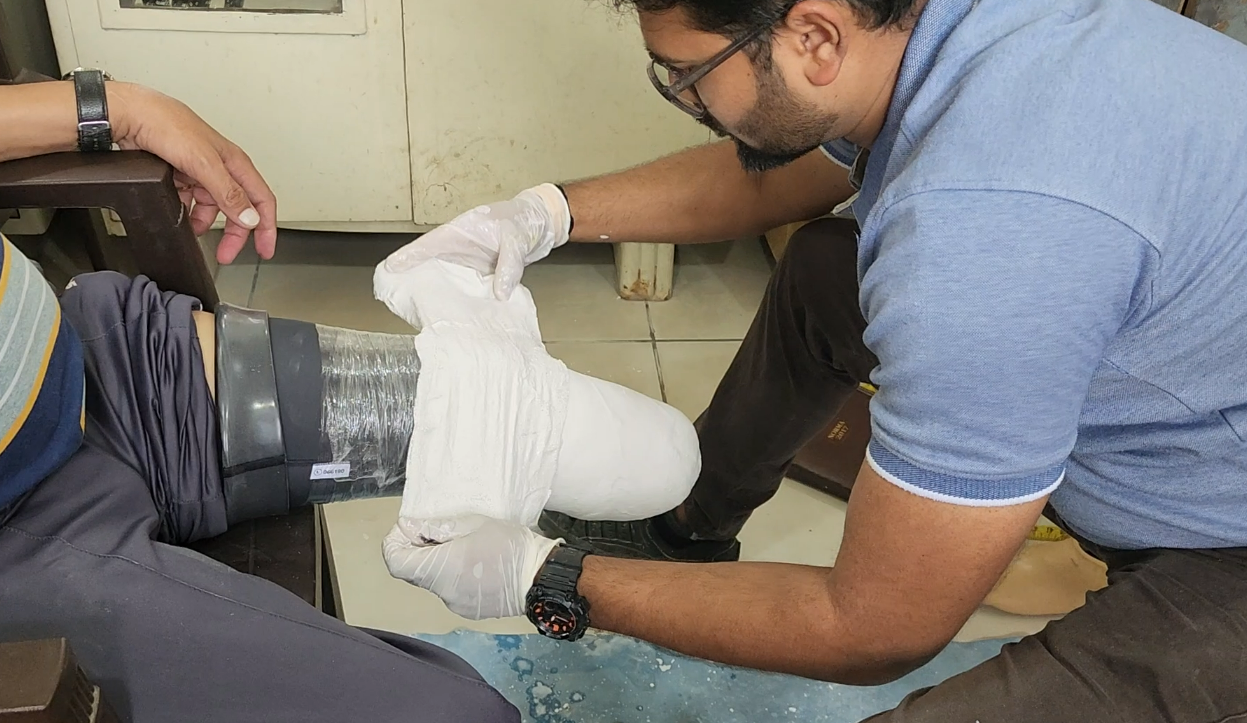
Here are some steps for preparing a Plaster of Paris (POP) mold for a Prosthesis :
Step 1 - Mix the Plaster : Mix equal parts plaster of
Paris and water in a food service type
wrist to create a smooth,
pour-able consistency.
Step 2 - Fill the Mold : Fill the mold with the plaster
of Paris.
Step 3 - Insert a Vacuum Pipe : As the plaster begins to
harden, insert a vacuum pipe into the
mold to remove air
bubbles.
Step 4 - Set and Remove the Wraps : After 20–30 minutes,
remove the wraps to expose the positive
model.
Step 5 - Smooth the Model : Use a Surform rasp to smooth
out any bumps or irregularities.
Step 6 - Apply a Finish : Apply a final smooth finish
with screen wire and wet-or-dry Fabricut
silicon carbide.
Step 7 - Seal the Model : Seal the model with Hosmer-Lac
to prevent the plaster from affecting
the inner PVA bag.
You can also use a mold release agent to prevent the plaster from sticking to the mold. Some common mold
release agents include Vaseline, Liquid Hand Soap, Pam Cooking Spray, Crisco, Vegetable Oil, and
Murphy's
Oil Soap.
Double Click for Full View